How to Automate Your Megaport Infrastructure With APIs
- Cloud networking
- October 21, 2024
- RSS Feed
By Todd Wenzel, Solutions Architect
Learn how to transform your network efficiency and interoperability, all from a single interface.
As networks expand and automation becomes the norm, API usage has exploded; in today’s digital landscape, 90% of developers are now utilizing APIs. APIs are no longer just technical constructs, confined to the dark corners of software engineers – they’re now the lifeblood of many companies.
API tools allow you to connect to diverse data sources, supporting interoperability and innovation. For example, with APIs you can:
- integrate external data into your systems and processes to boost efficiency
- scale rapidly by connecting data and services that streamline and improve customer experience
- enhance security protocols and minimize attack surfaces
- integrate with other companies’ or third-party software to allow them to communicate with each other.
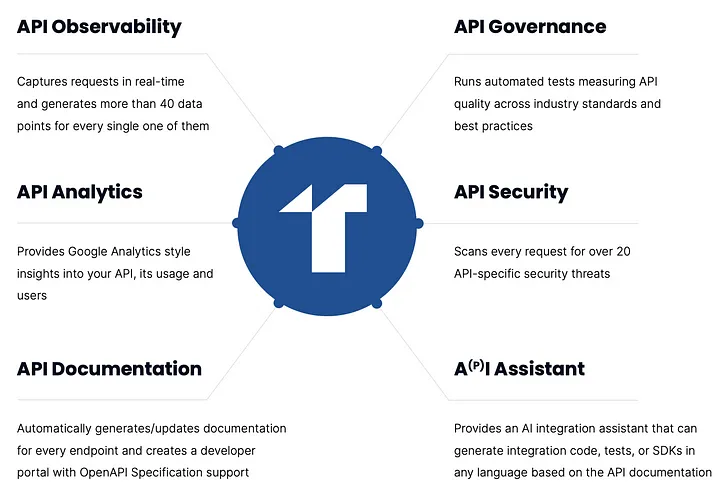
An example of the many features offered by APIs. Source: Treble via Medium
In this blog, we’ll walk you through how you can start using the Megaport API to automate your infrastructure, achieving all these use cases and more.
About the Megaport API
Megaport offers a public API for access to all Megaport services available through the Megaport Portal. This API can be used to automate your Megaport provisioning through a single source to save time and simplify the process.
The Megaport API is based upon REST; it has predictable URLs, accepts form-encoded bodies, returns JSON-encoded responses, and uses standard HTTP response codes.
Our API will allow you to:
- deploy Ports, MCRs, MVEs, and VXCs
- connect to to AWS, Azure, GCP, Oracle and all other major Cloud Service Providers
- connect to the MegaIX platform and Megaport Internet
- access service status, maintenance and outage events, MCR Looking Glass, pricing, invoices, and product inventory.
Megaport offers two server environments which can be accessed using different URLs:
https://api.megaport.com/: This is the live Production environment. You will be liable for any services ordered in this system.https://api-staging.megaport.com/: This is a test Staging environment. You can test any action in this environment and the API calls and responses will mirror the production system, but the services will not be deployed and you will not be billed for any activity. The staging environment is reset to match the production environment every 24 hours.
Get our how-to- guide for solving common API issues with Megaport.
How to set up the Megaport API
Prerequisites
Before you get started with the Megaport Collection in Postman:
- You need a Megaport account.
- You need to install Postman.
To set up the Megaport Collection in Postman:
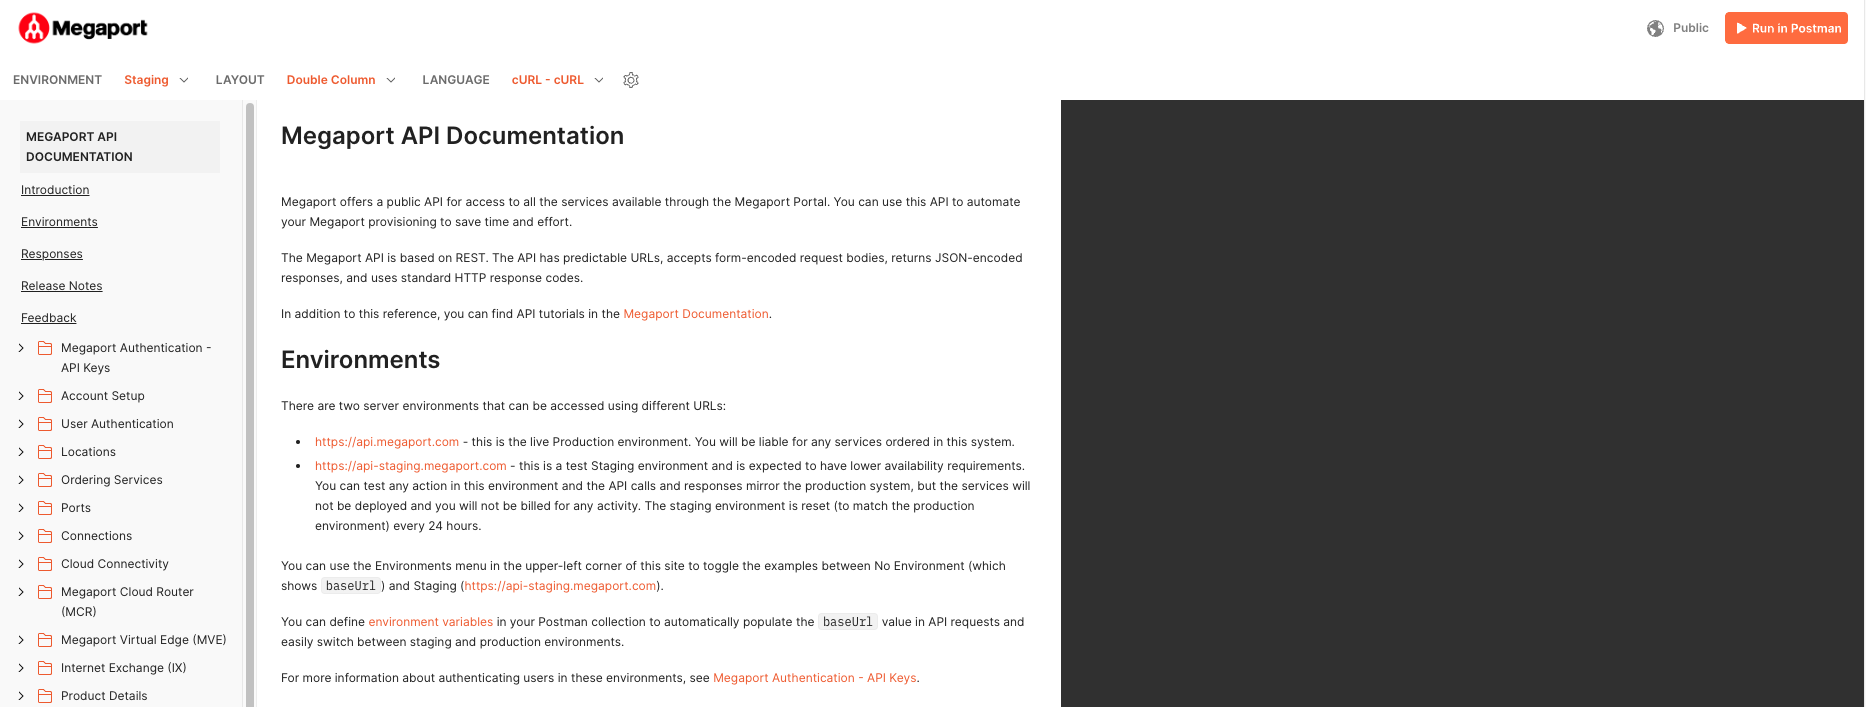
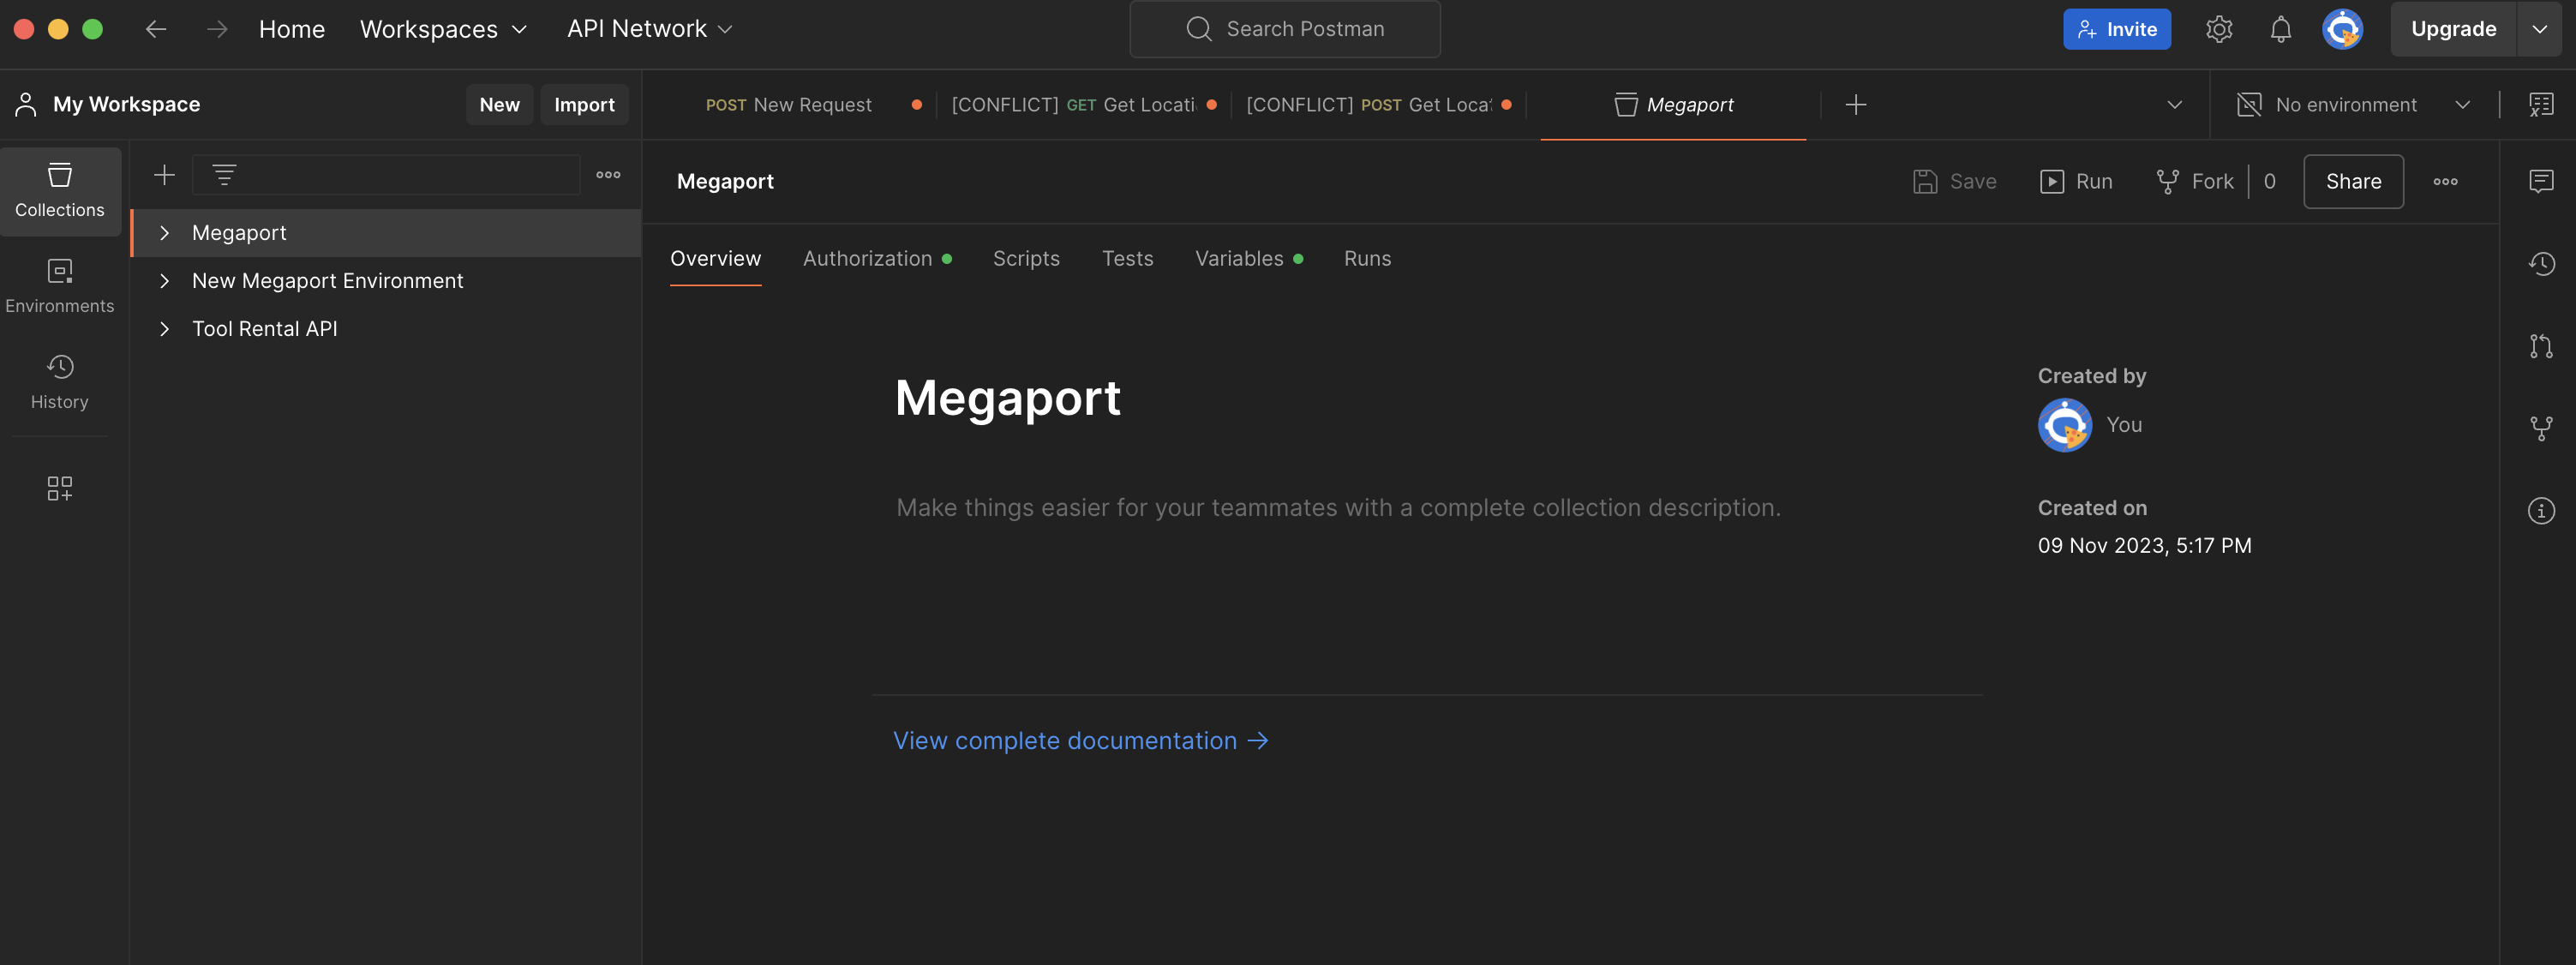
- Download the postman API collection from dev.megaport.com.
- Click the Run In Postman button in the top right corner of the linked page:
Set up authentication
The first step in preparing for API deployment is setting up Megaport Authentication. Megaport API calls require an access token and an access service key. These credentials will be created in your Megaport Portal account. To do this:
- Log in to your Megaport Portal Account.
- Select Tools > API Key Generator.
- Select Generate API Keys > Select Name > Role.
- Select Generate Key.

Once the API key is generated, the output will include an API Key and an API Secret Key. As shown below, you can only view your secret key after it’s been created.
Once you close out the API key selection, you will no longer be able to source the API Secret key so be sure to save in a safe place. If you do misplace your secret key, you can always start over by creating a new API key.

Build an access token
Now you have your API keys, you can build an access token in your Postman environment.
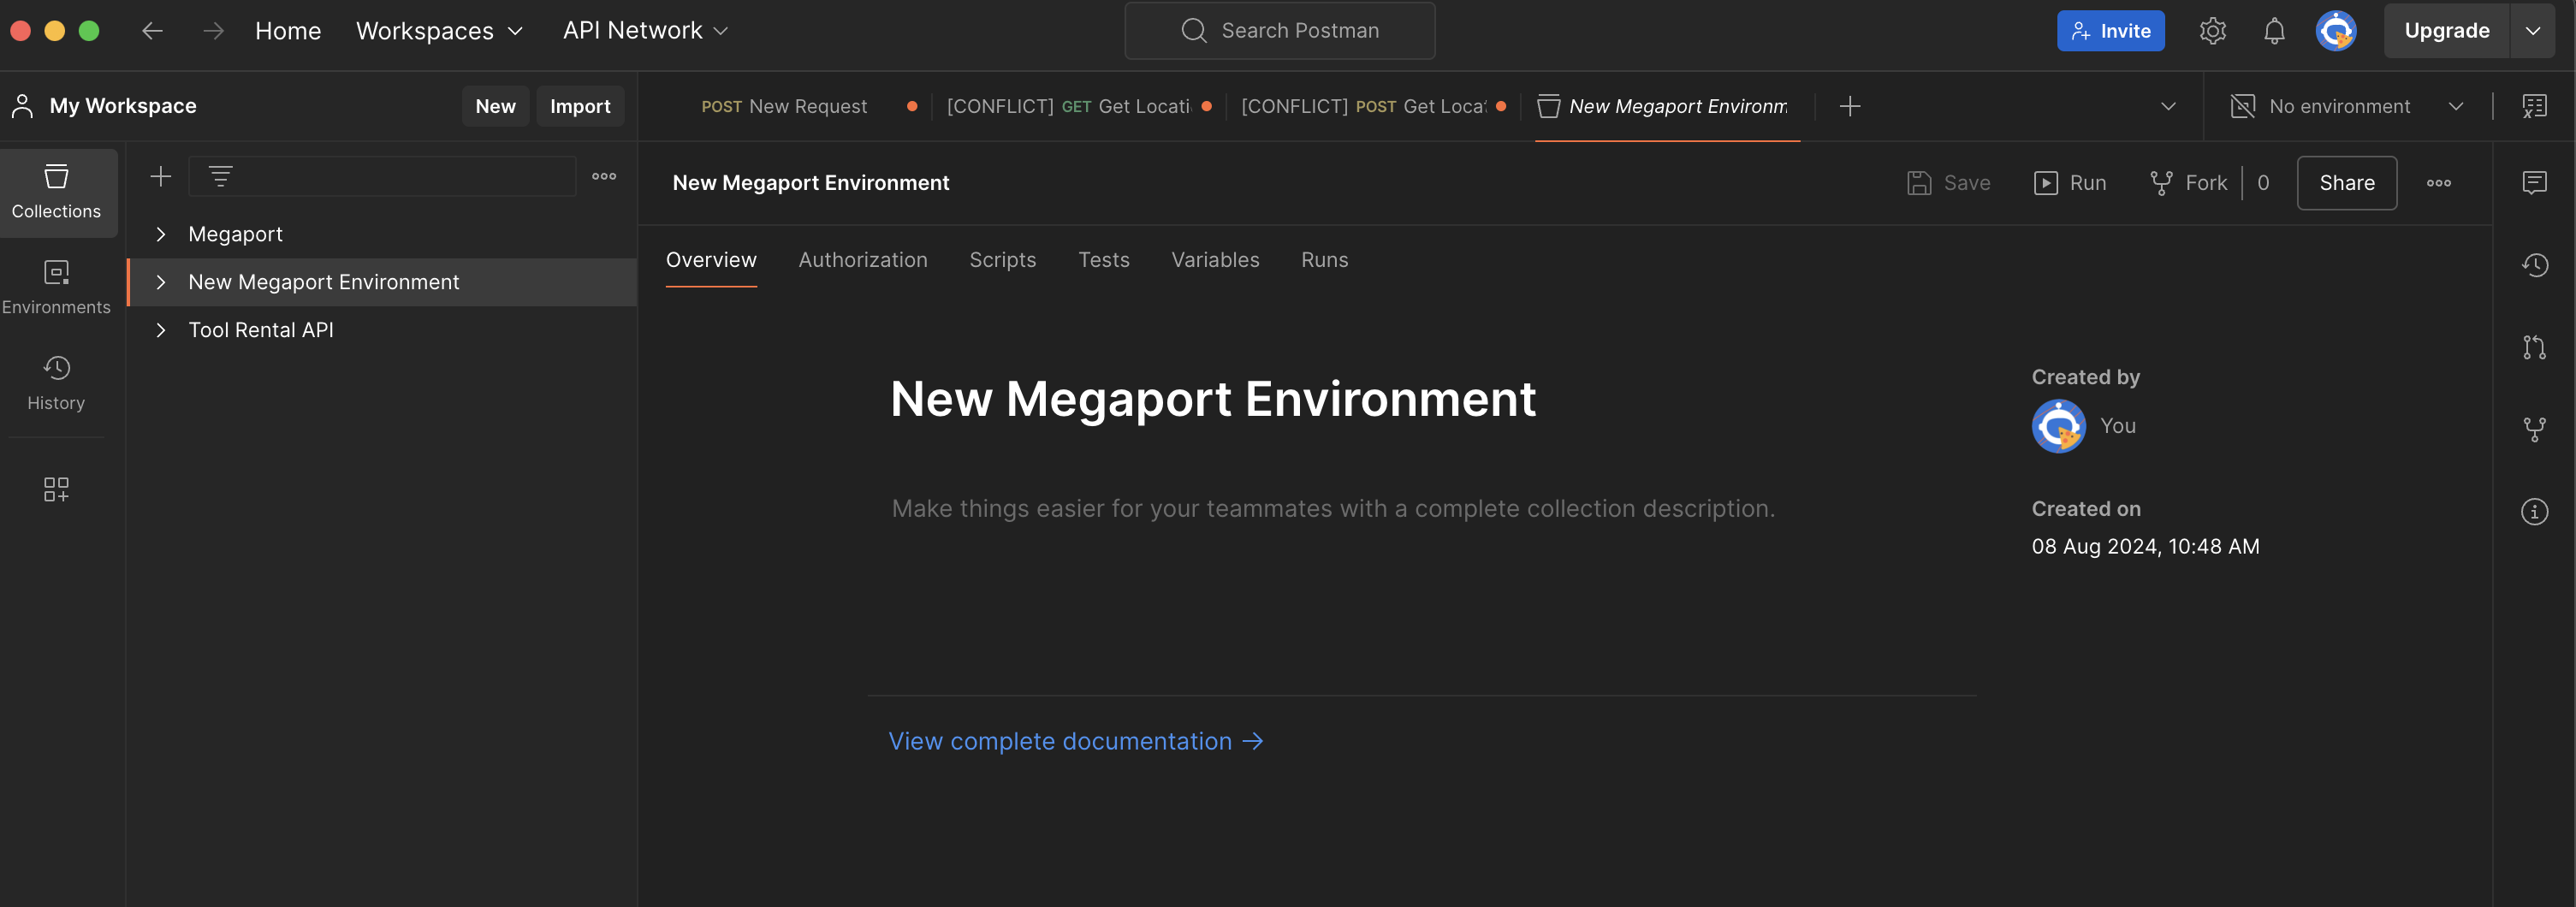
- Create a new collection: New Megaport Environment.
- Add a request by selecting Add a request under “My new collection”.
3. In order to generate an access token, add https://auth-m2m.megaport.com/oauth2/token in the URL field. Use the POST request method.

4. Select the Authorization tab.
5. Under Auth Type, select Basic Auth.
6. Enter username: API Key from the Megaport Portal, and password: API Secret Key from the Megaport Portal. Hit Save. (You also have the ability to use the “Variables” option to hold sensitive data like your username and password.)

7. Select the Body tab.
8. Select x-www-form-urlencoded.
9. Enter the new key: grant_type and set value: client_credentials.

10. Hit Send (if everything is appropriately configured, an access token will be generated under the body of the POST request).
11. Copy the access token between the “xxxxxxxxxx”.
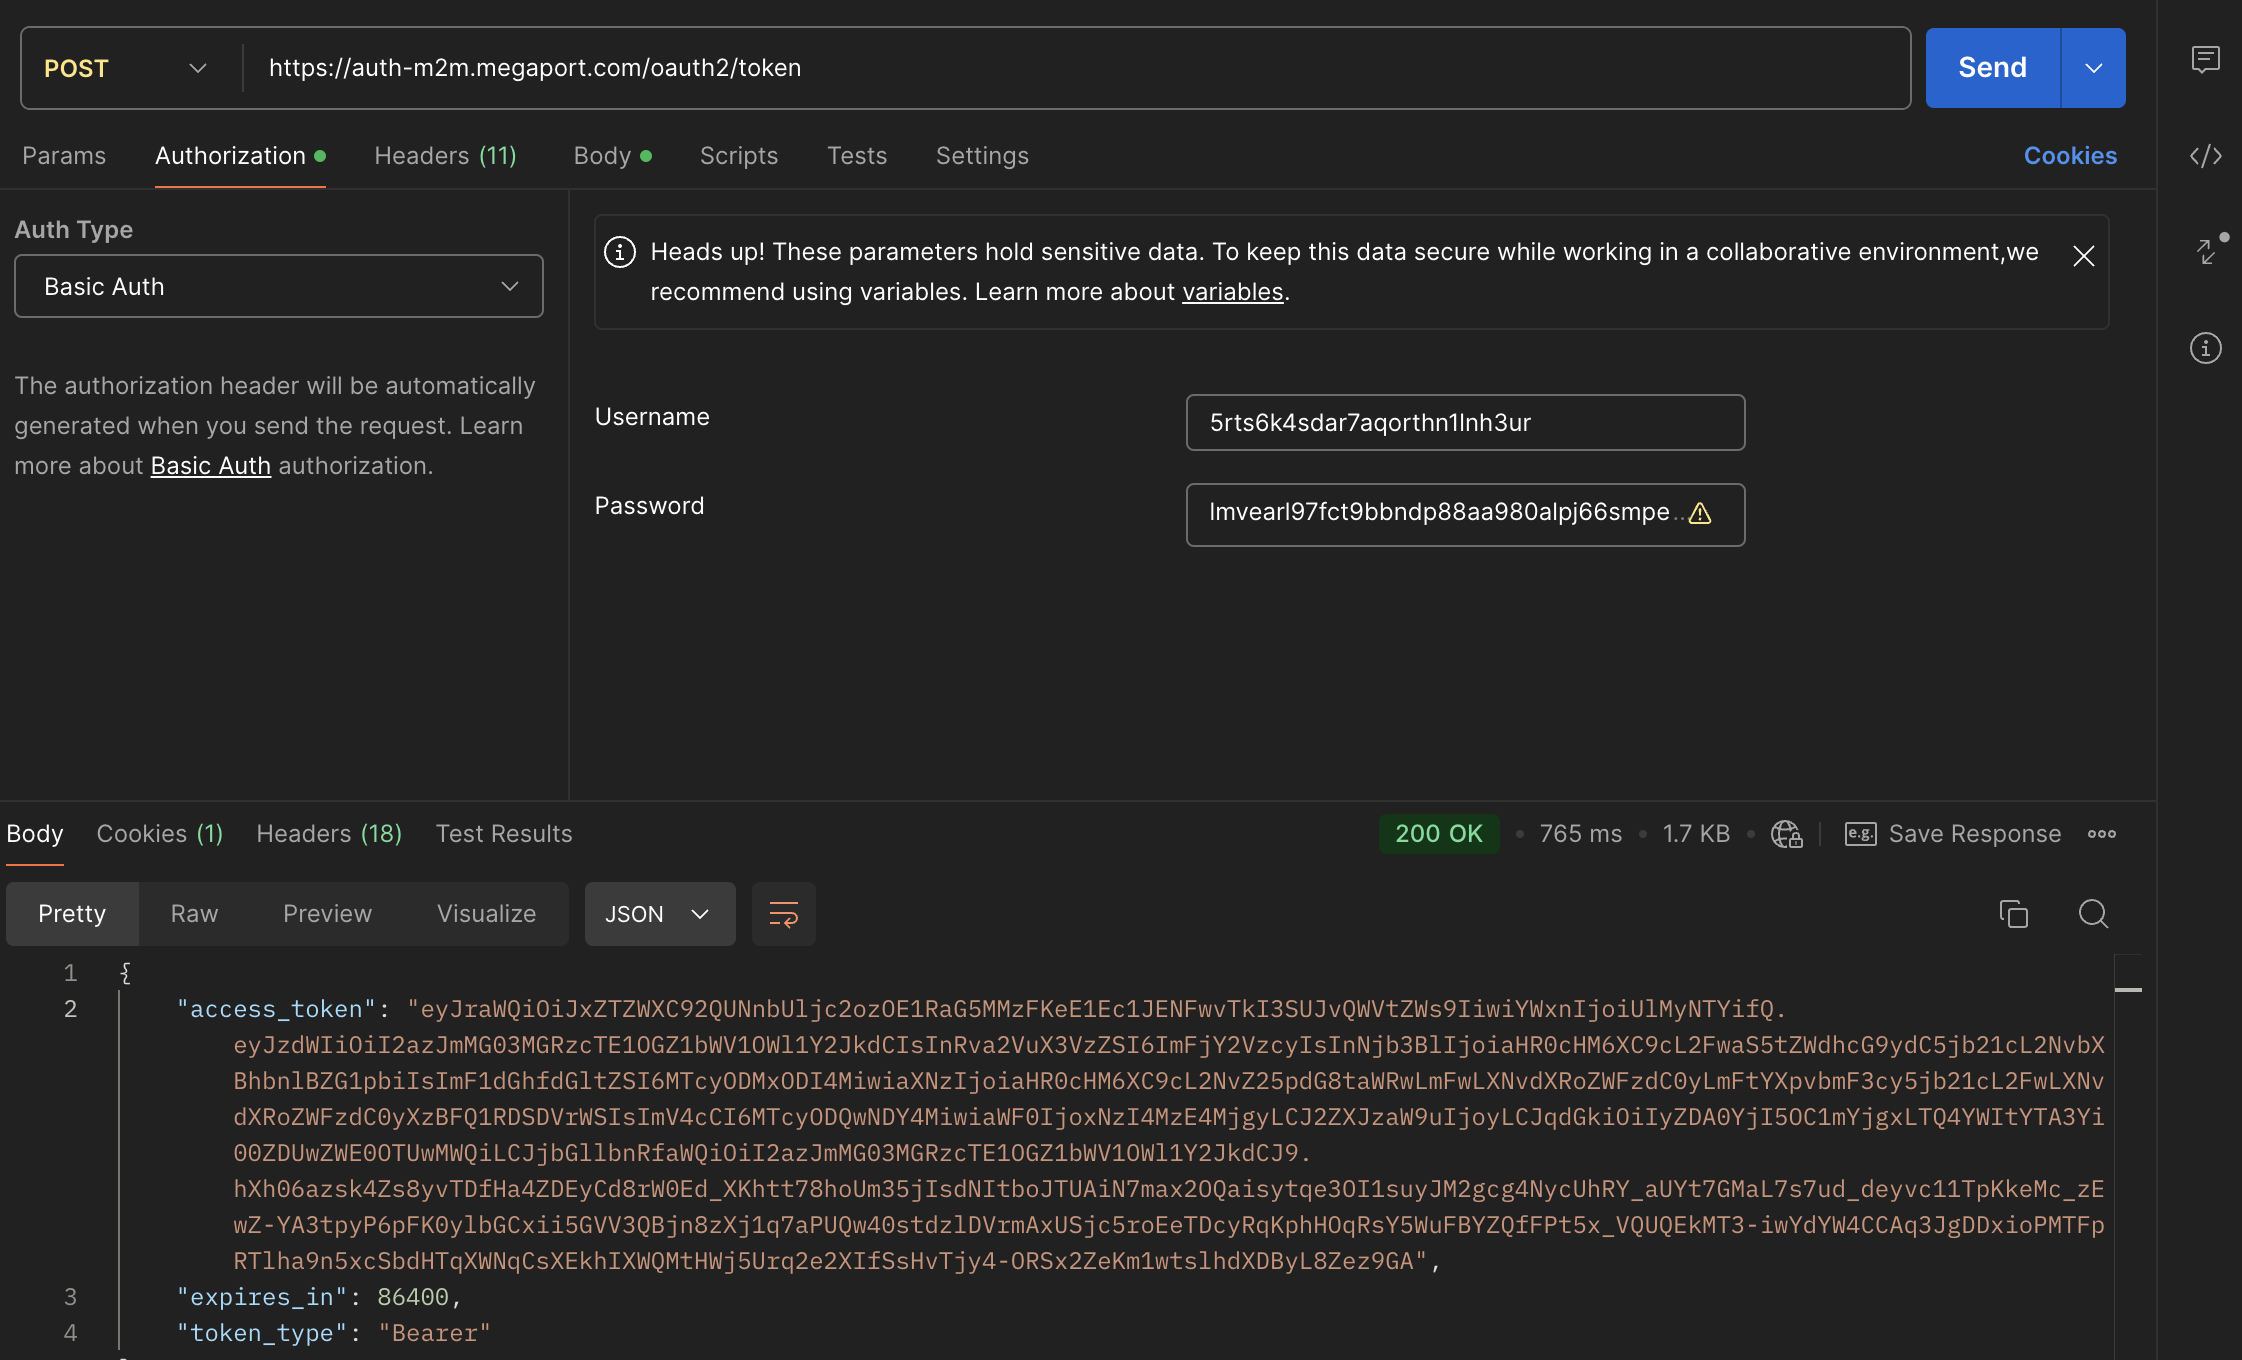
12. Under the Authorization tab, change the Auth Type to Bearer Token, paste the access token in the Token field, and hit Save.

You’re now ready to start ordering Megaport services via the Megaport API.
The dev.megaport.com URL will provide you with many links to help you create the environment you want to deploy via the Megaport API.
View the Megaport ecosystem
To view locations on the Megaport Network, you can:
- select locations on dev.megaport.com
- post a GET request with the URL:
https://api.megaport.com/v2/locations?locationStatuses={status}&metro={metro}

Make sure the Basic Auth and Bearer Token are present in your GET request.
- Under the Headers tab, select Add > Content-Type > application/json.
- Under the Headers tab, add your authorization, bearer, and access token.
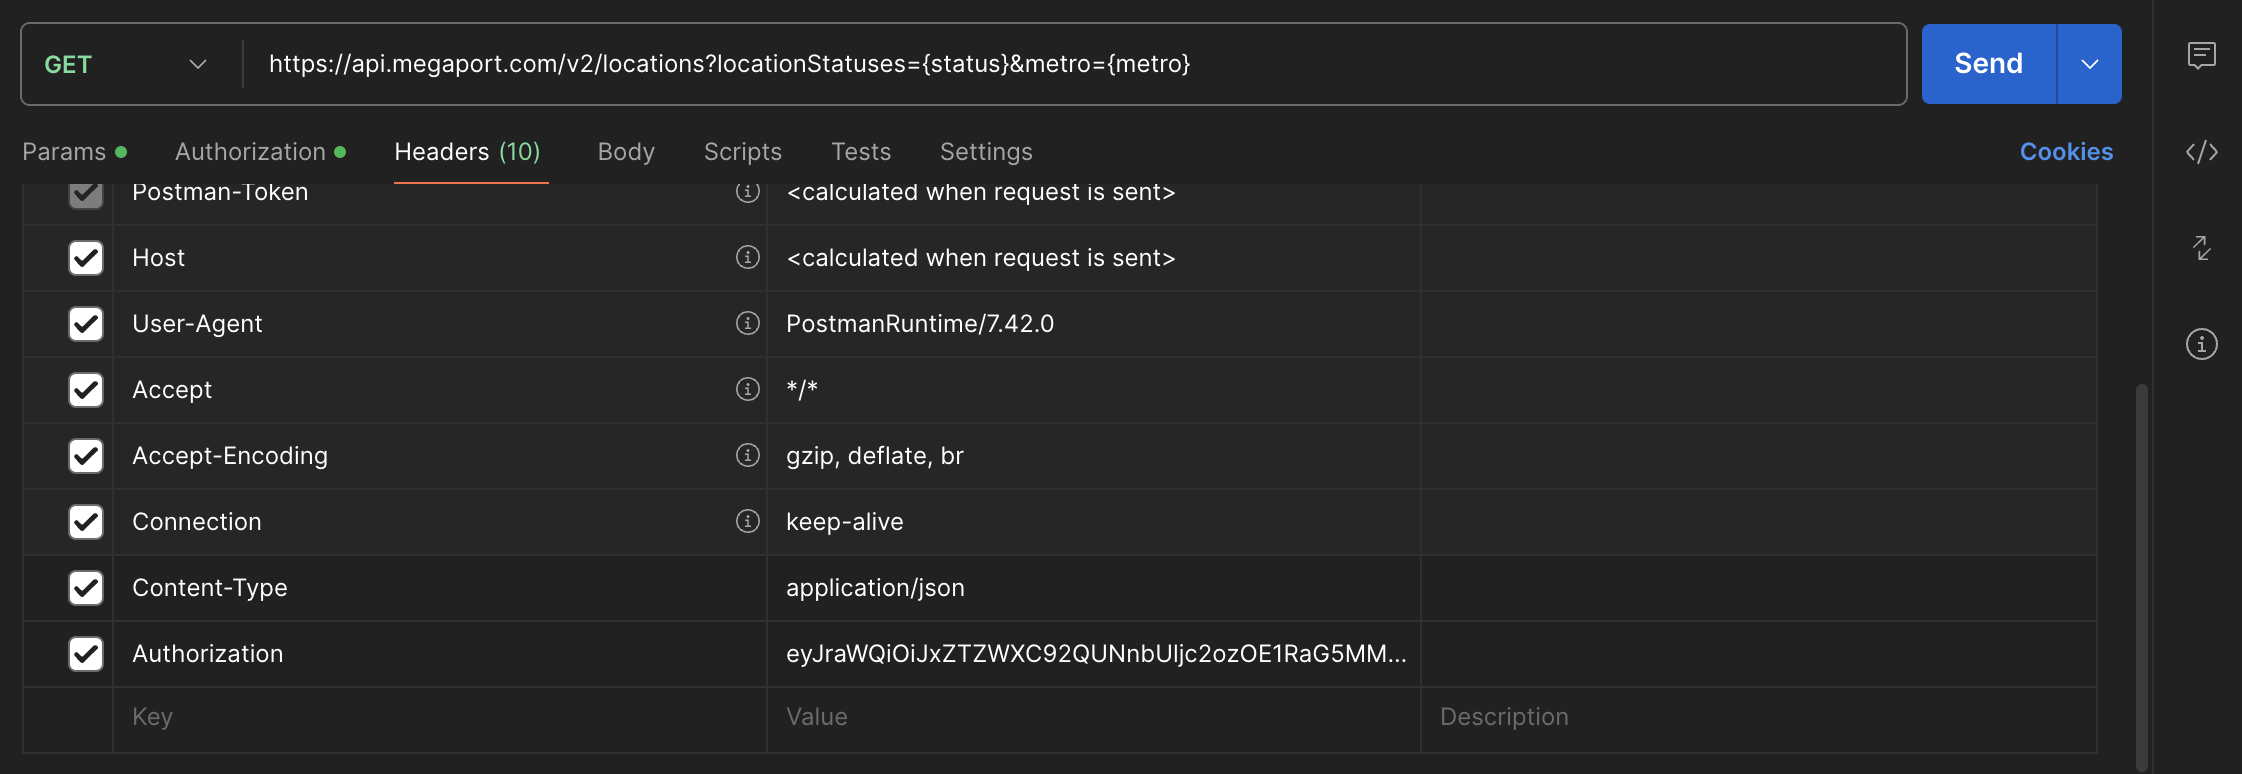
3. Select Save and and set the name “Locations”.
Under Collections, you’ll see the “GET Locations” folder.

4. Under the Params tab, customers have the ability to add additional Query Params, for example, locationStatuses {status} or mveVendor {vendor}.

In this example, we’ll add Atlanta to the Metro Value and hit Send. Deselect the checkmarks for those params you don’t want to search.
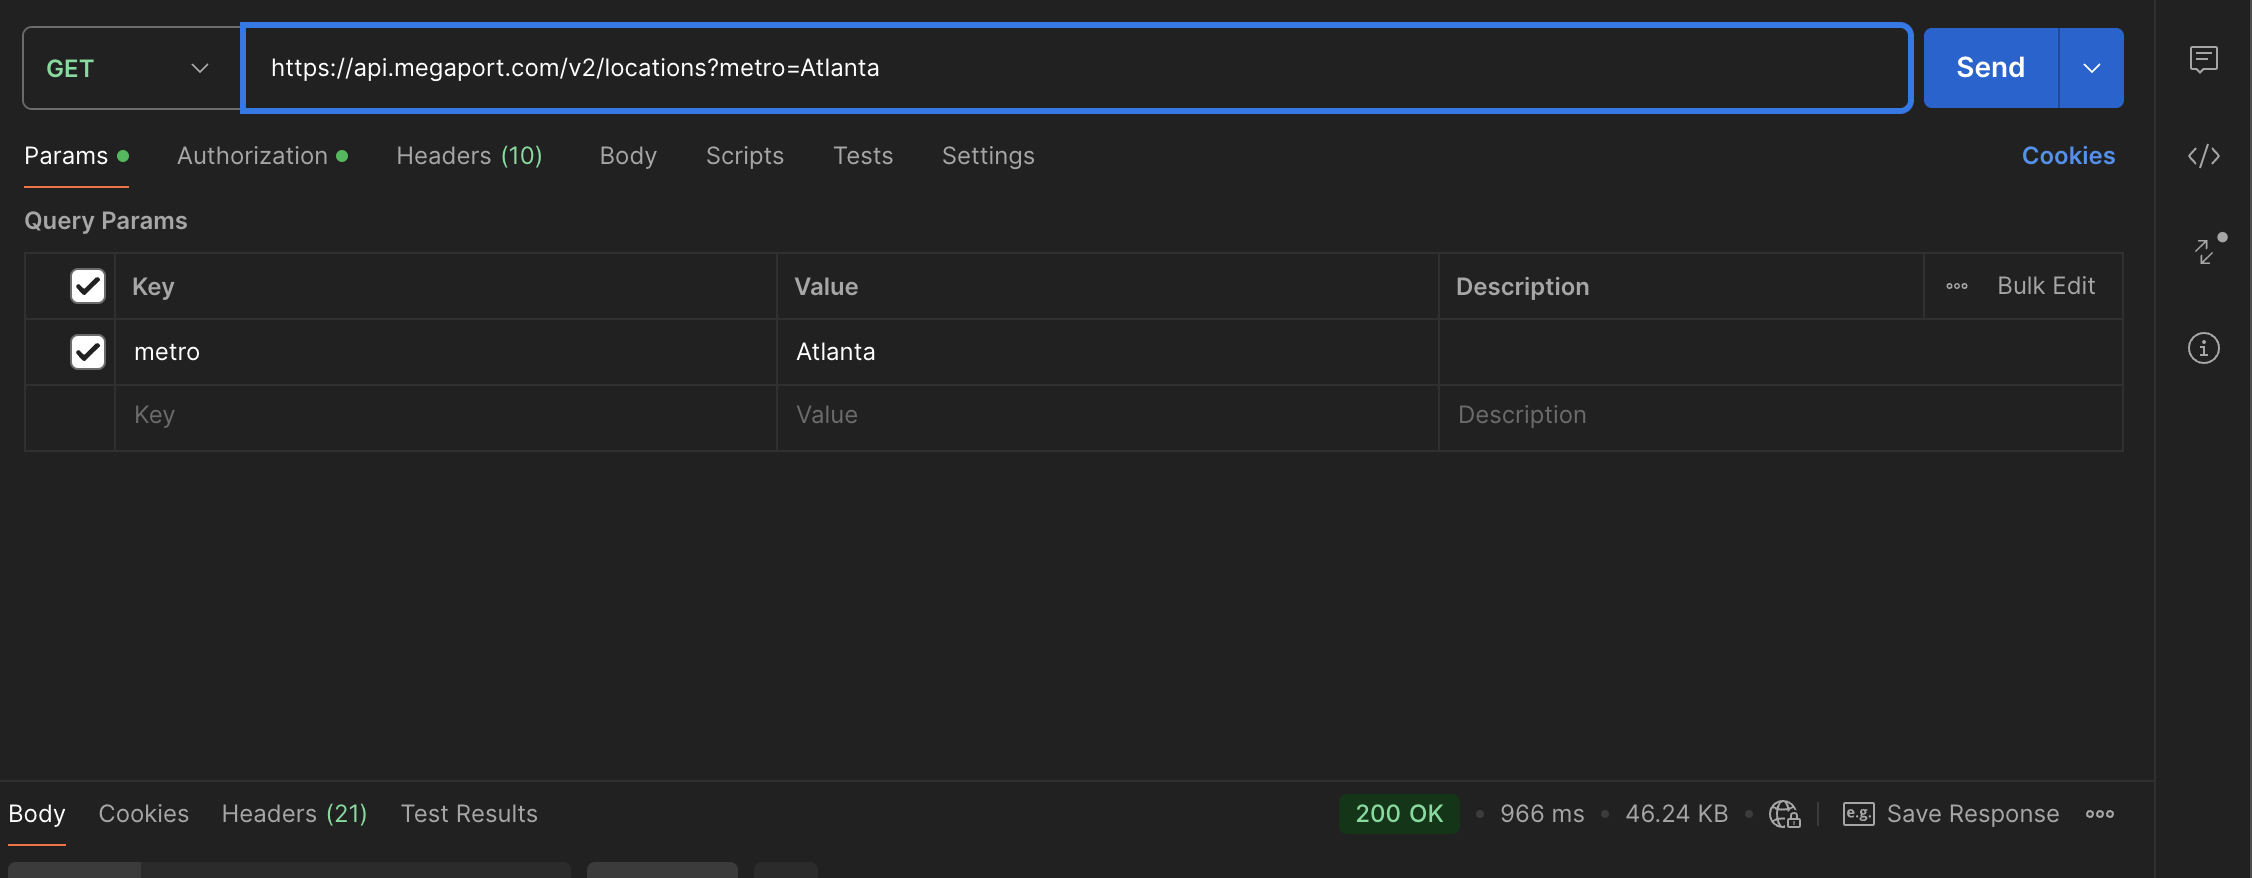
In some cases, you may get an error for a bad session token. If this happens, go back to Authorization > Bearer Token, copy the bearer token, clear the Token field, and re-add.
5. You should receive a resulting status of “200 OK”. Now, our Megaport Atlanta locations should appear in the body. Please note the “id” field. For example, if a customer wants to order a Megaport at Digital Realty ATL, the “id” of 116 will be used in the JSON Body.
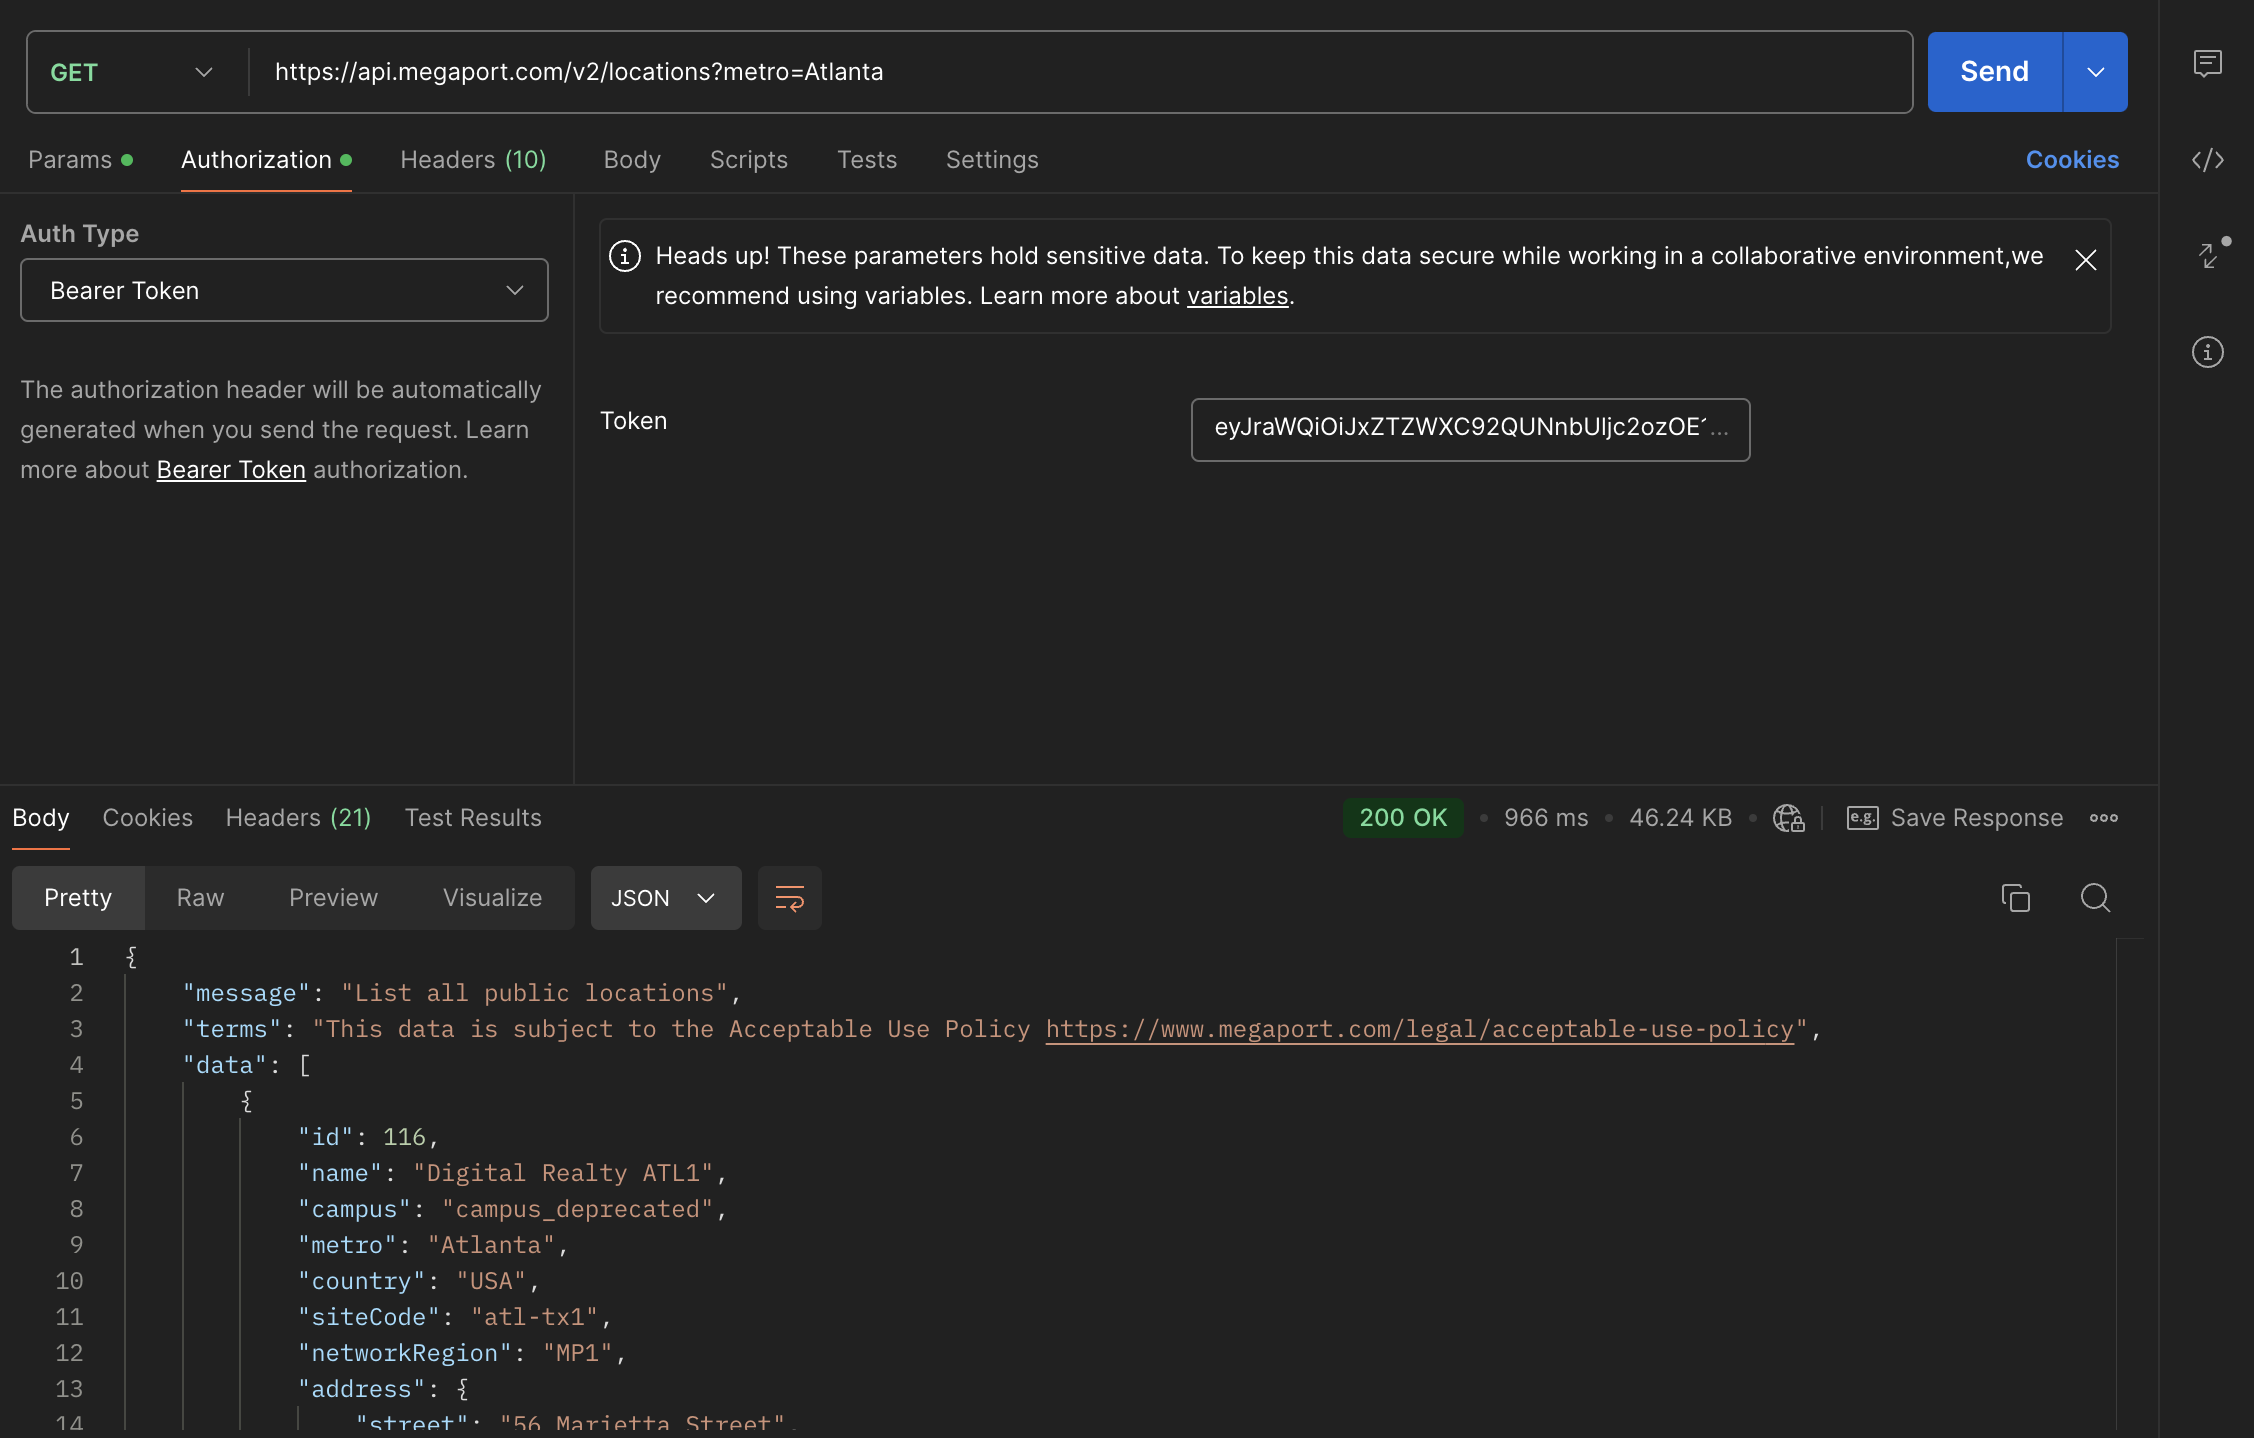
An example of that JSON body using the above “id” would look like this:
[
  {
    "locationId": 116,
    "term": 24,
    "productName": "API-Demo",
    "productType": "MEGAPORT",
    "config": {
    },
    "portSpeed": 10000,
    "market": "US",
    "costCentre": "NA"
  }
]
How to order a Megaport via the API
Let’s use what we’ve reviewed to order a Megaport via the API.
- On dev.megaport.com, select Ports > Buy Port (v3).
- Create a new request in Postman.
- Choose POST and paste
https://api.megaport.com/v2/networkdesign/buyin the URL field. - Make sure the Basic Auth and Bearer Token keys are listed under the Authorization tab.
- Under the Headers Tab, ensure you have Content-Type/application/json and Authorization/Bearer Tokens. If these aren’t present, add them to the Headers tab.
- Paste the JSON under the Body Tab/raw.
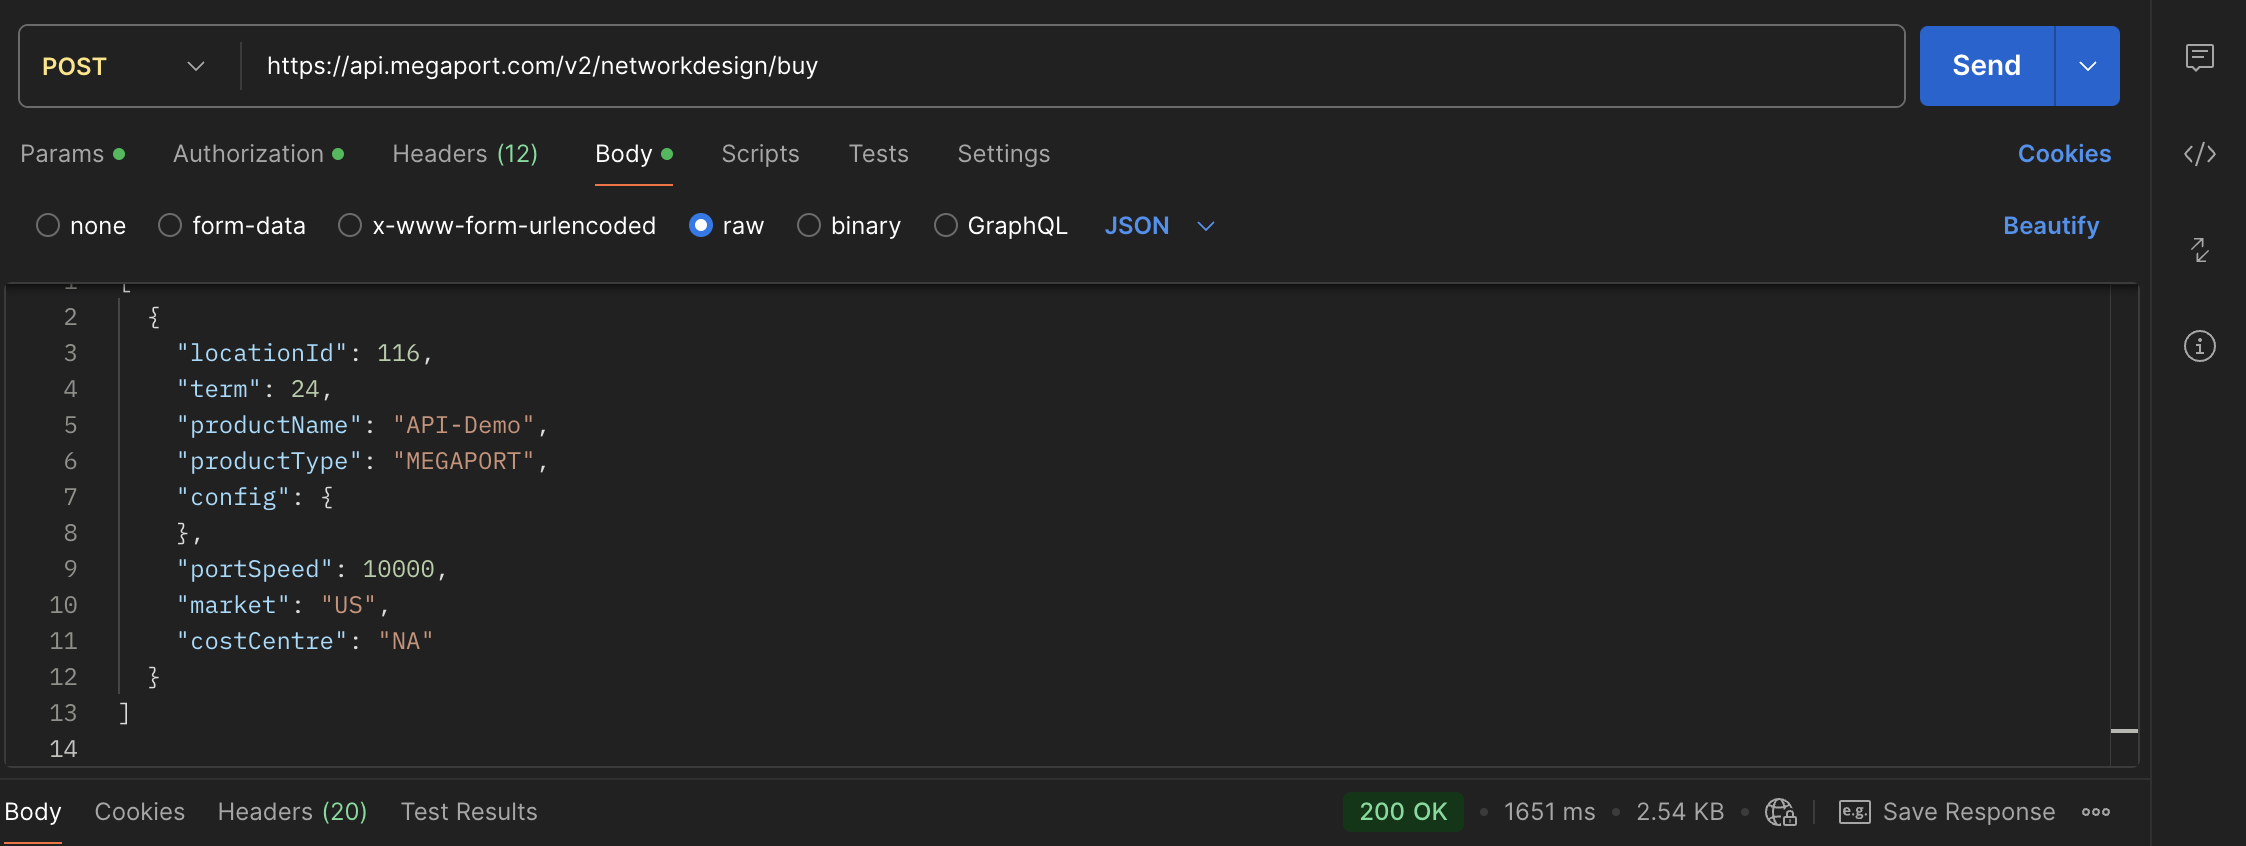
7. Hit Send.
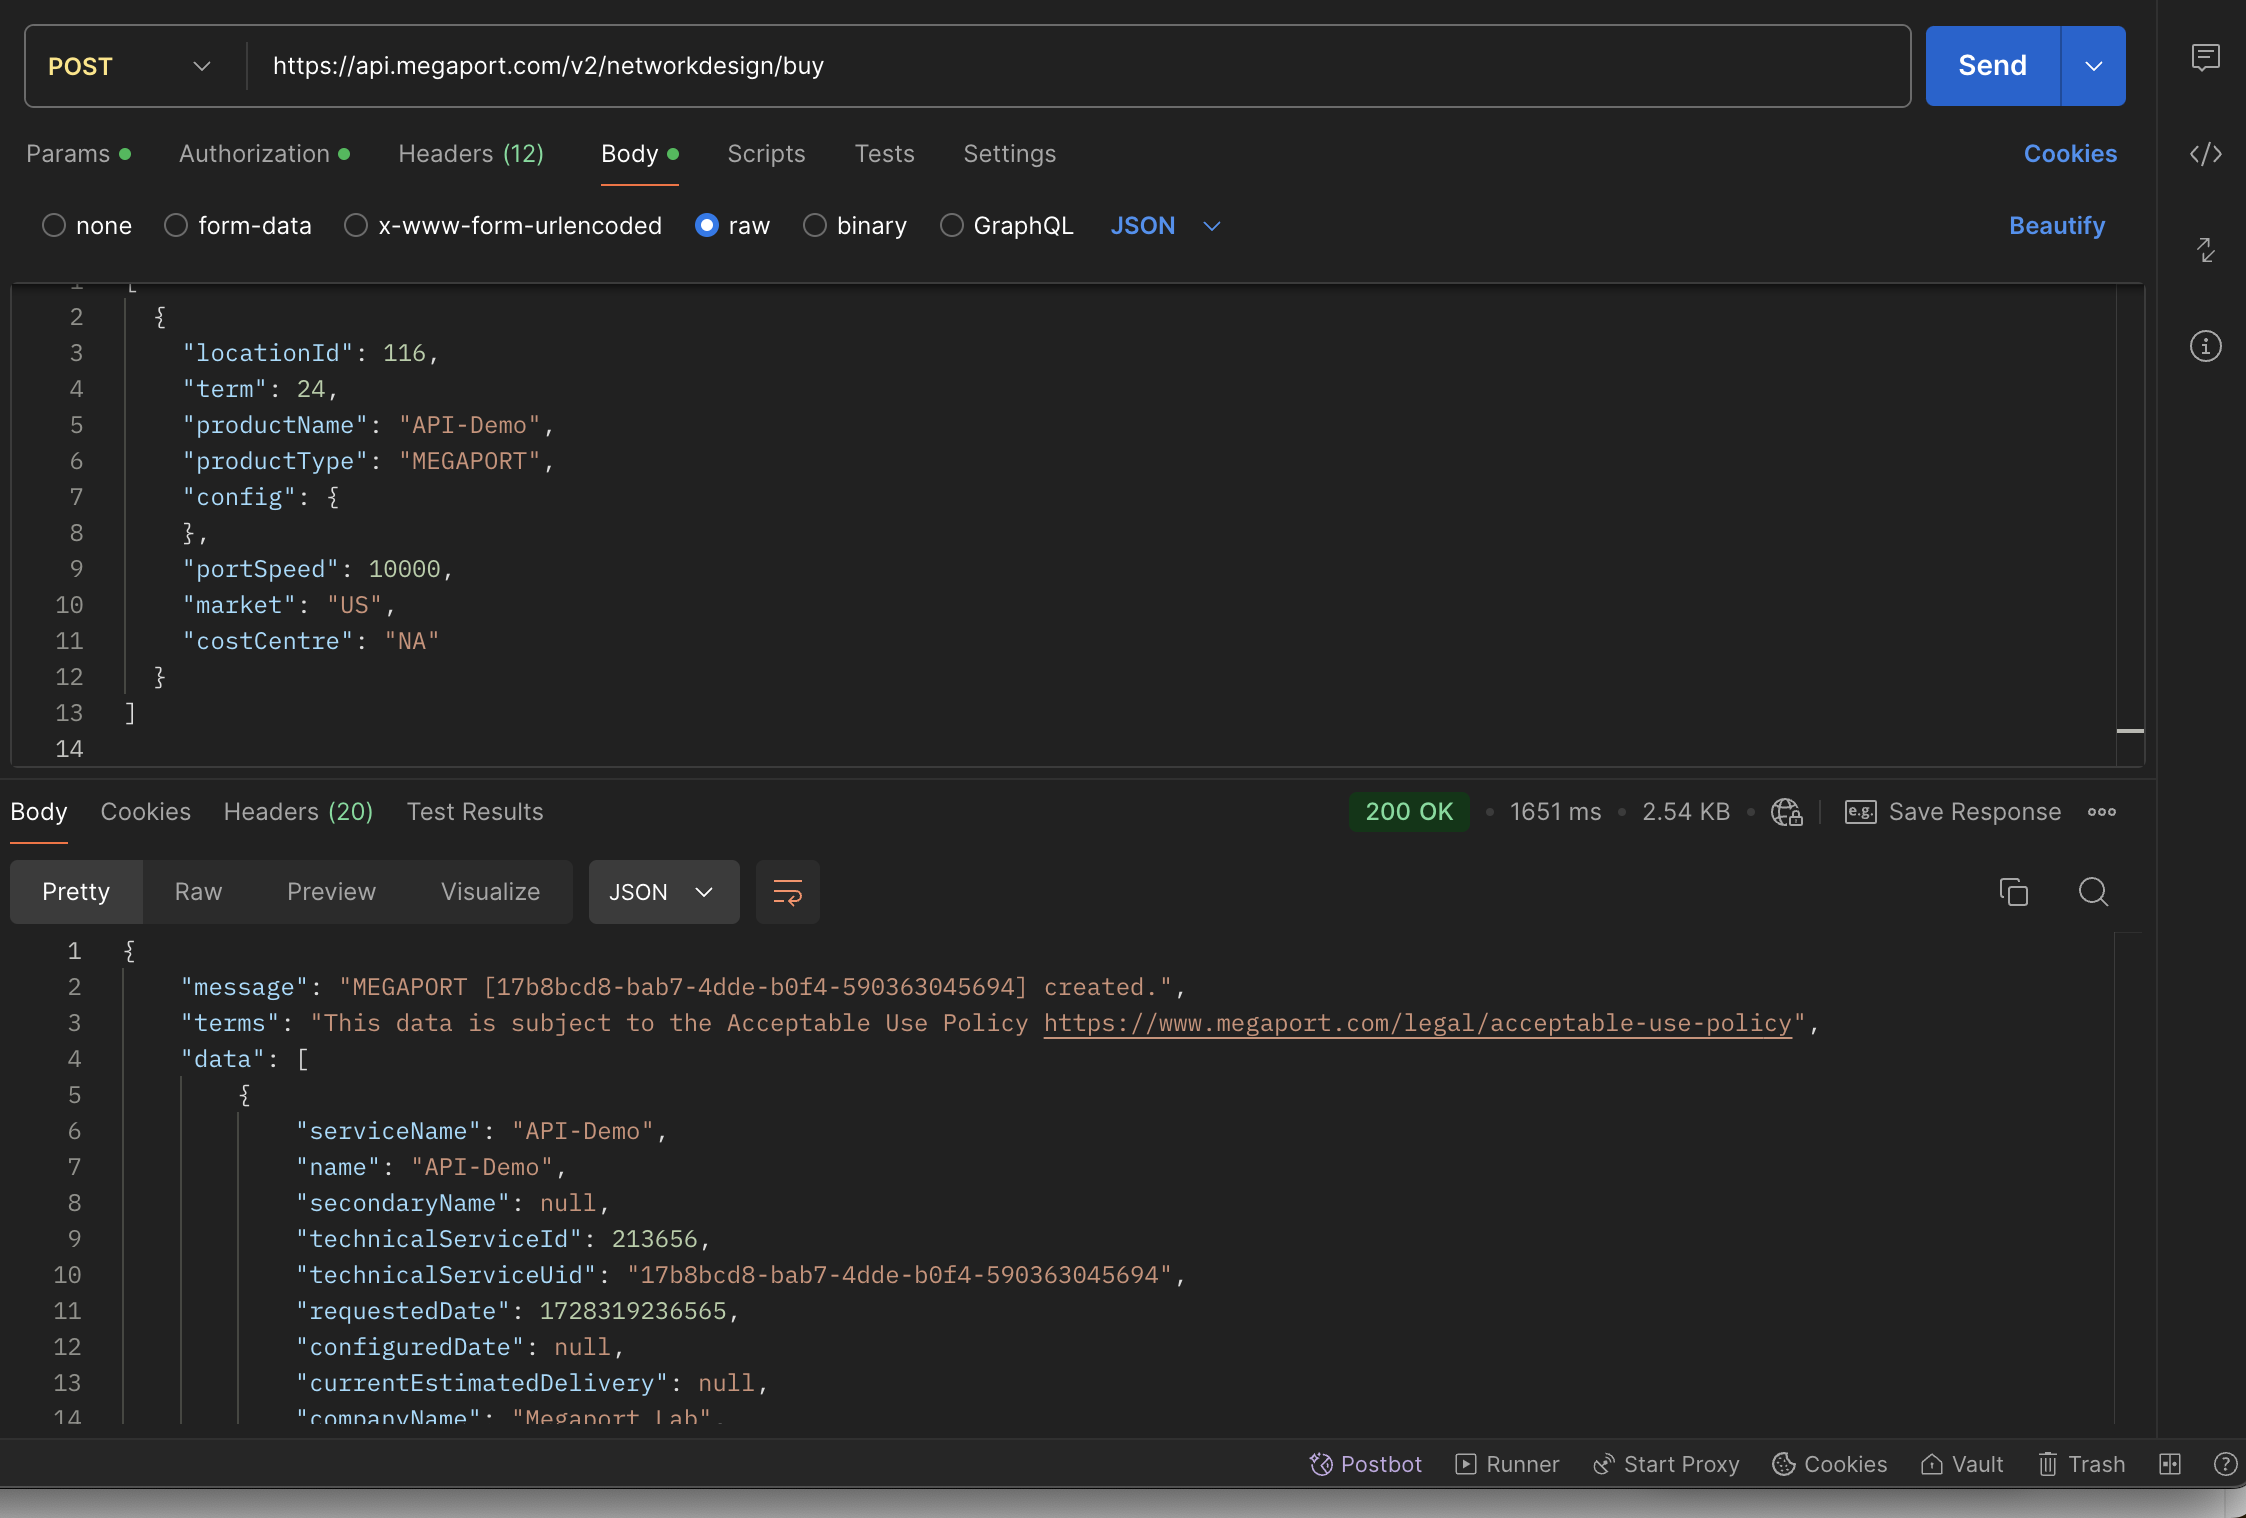
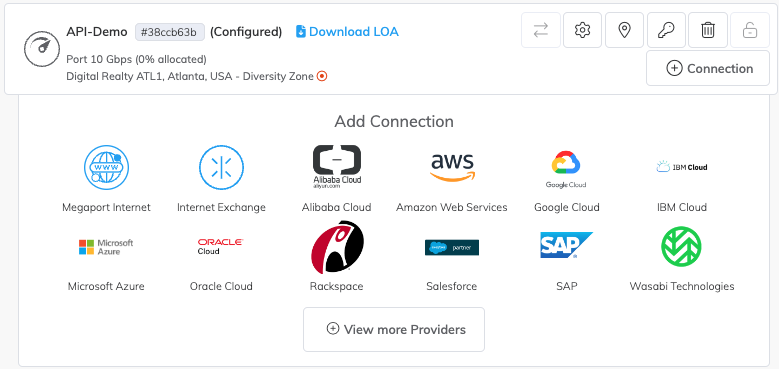
In this example, we can see the API request has been sent to the Megaport Portal in 1651 ms and the Port has been created in the Megaport Portal.
Conclusion
APIs have become essential tools for streamlining infrastructure and driving innovation. By using Megaport’s API you can automate your network provisioning, improve network efficiency, and integrate with leading cloud platforms, all from a single interface.


